

Follow our step-by-step guide below to repair your wetsuit yourself!
Whether you're a passionate windsurfer, kitesurfer, or wingsurfer – a good wetsuit is essential! But no matter how careful you are, it can happen: a tear or hole appears in your wetsuit. Don’t worry! That doesn’t mean you need to buy a new one right away. In many cases, you can repair your wetsuit yourself.
In this blog, we’ll guide you through the repair process step by step, so you can get back on the water in no time!
Source: c-skins.com
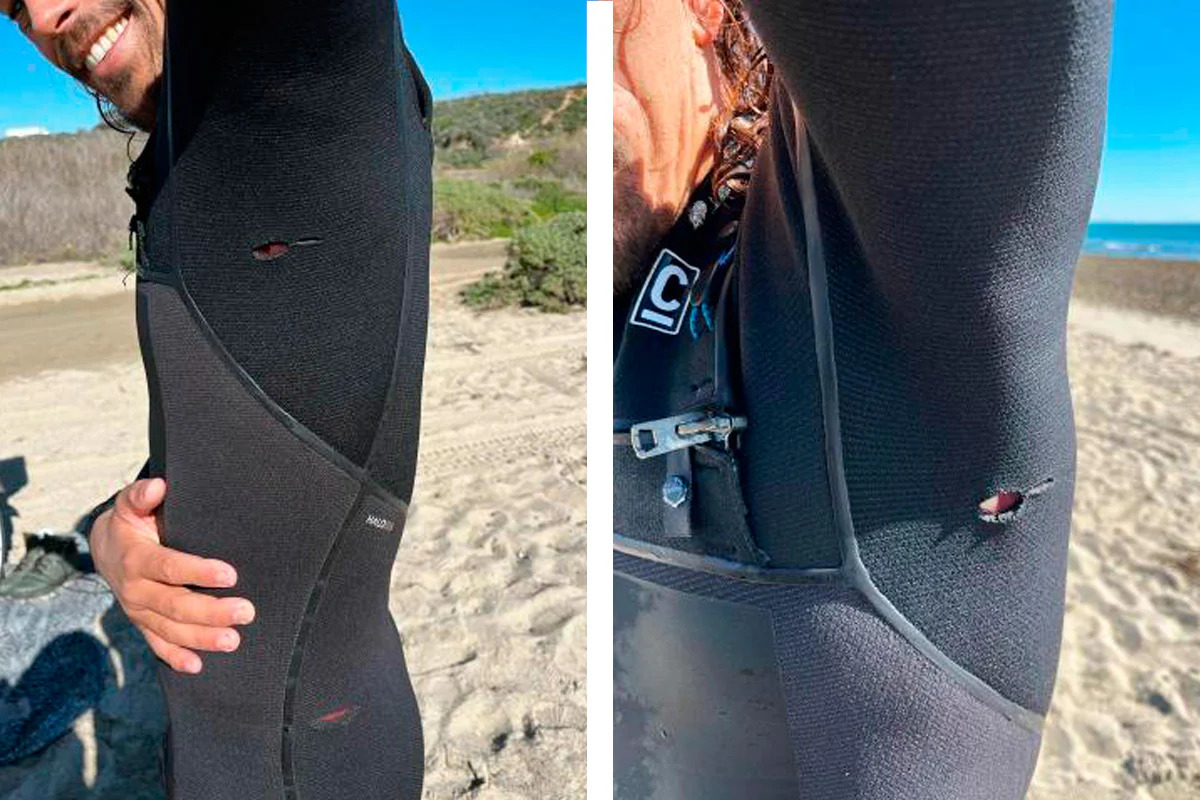
Step 1: Inspect the damage
Before you get started, it’s important to carefully check where and how badly your wetsuit is damaged. The most common issues are:
- Small tears in the neoprene
- Separated or loose seams
- Holes caused by sharp objects
- Torn zippers or Velcro fastenings
Small tears can usually be repaired yourself. For more serious damage or broken zippers, it might be better to have the wetsuit professionally repaired.
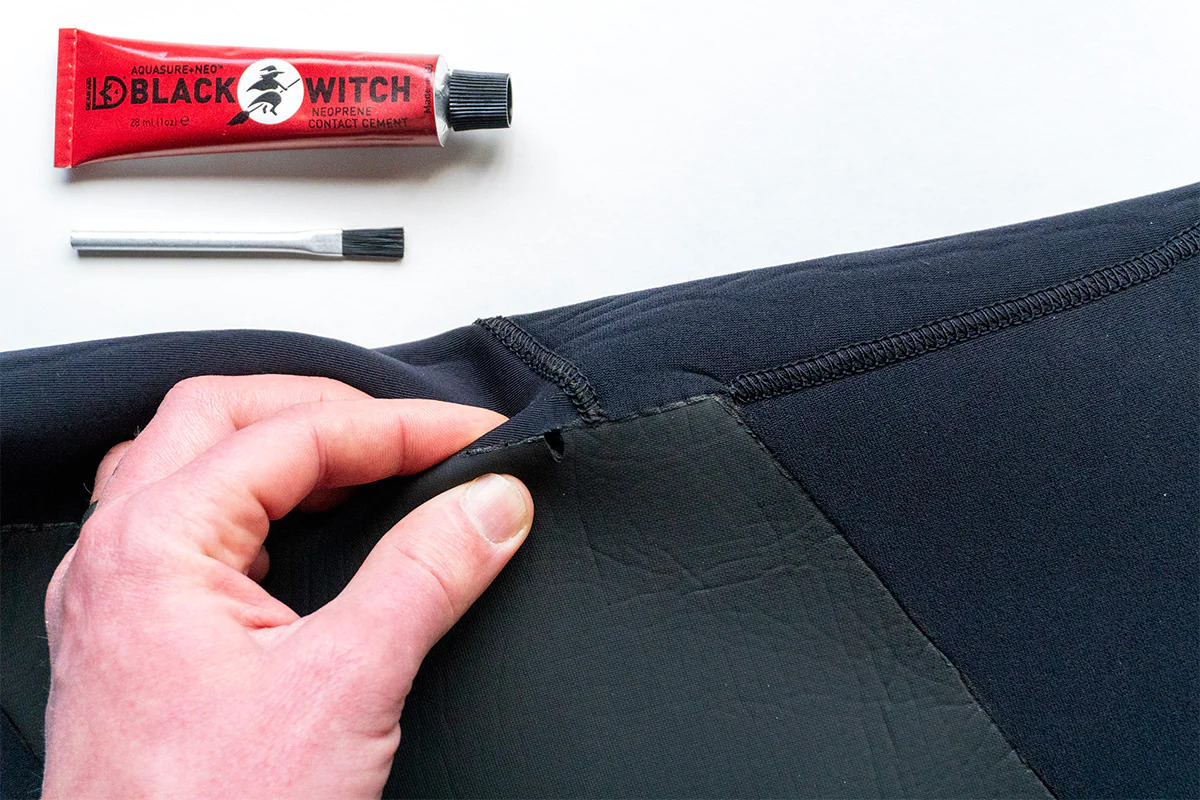
Step 2: What do I need?
To properly repair your wetsuit, you’ll need a few essential tools. Most of these are easy to find online or at a surf shop like Telstar Surf. Here are the basics:
- Neoprene glue: This is a special flexible adhesive designed specifically for bonding neoprene material without making it stiff or brittle.
- Brush or stick: Use this to apply the glue neatly and evenly, especially on narrow or hard-to-reach tears.
- Wetsuit repair patches: These are ideal for larger tears or worn-out areas. They reinforce the neoprene and provide a waterproof seal.
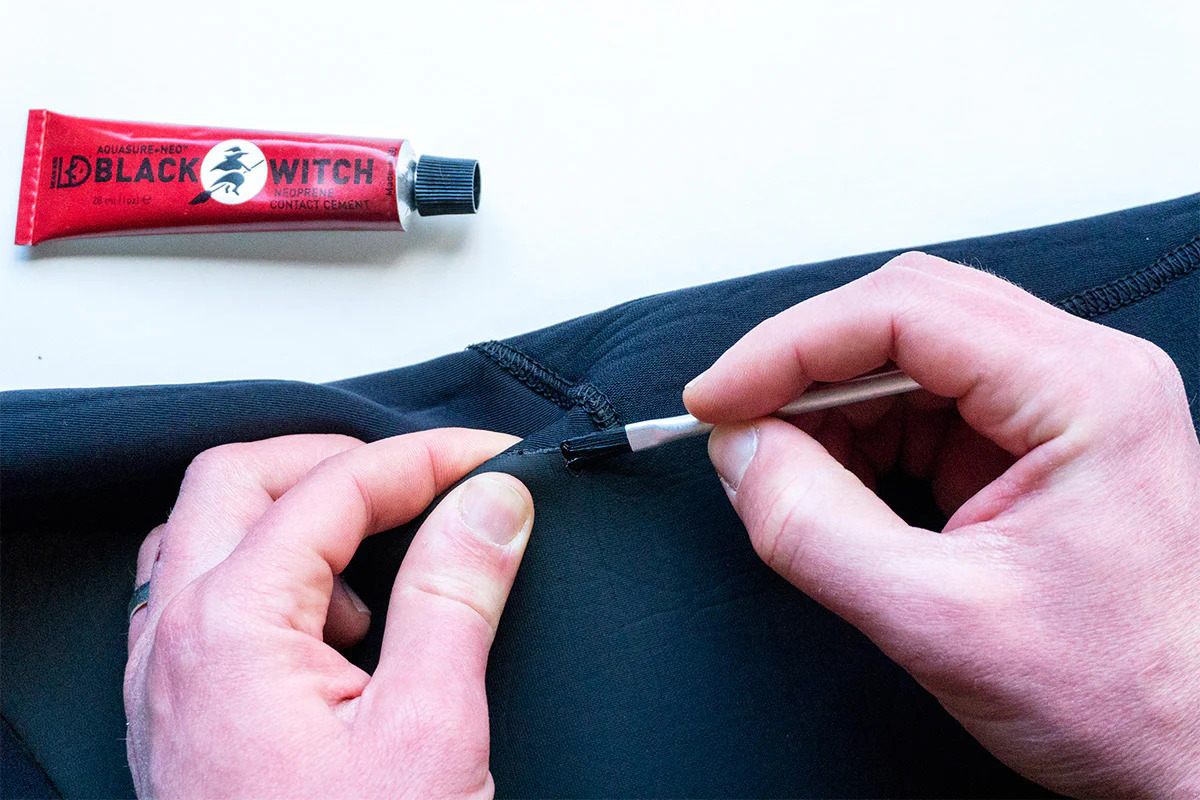
Step 3: Apply the glue
Using a brush or a wooden stick, apply a thin, even layer of glue to both inner edges of the tear. Be careful not to use too much, a thin layer is not only stronger but also neater.
Then, let the glue dry for about 1 to 2 minutes, until it becomes tacky but is no longer wet. Some types of glue may require a slightly longer drying time, so always check the instructions on the packaging for the best results.
Source: c-skins.com
'Extend the life of your wetsuit with our step-by-step guide!'

Source: c-skins.com
Step 4: Press firmly together
Once the glue feels tacky, it’s time to press the two sides of the tear together. Make sure the edges align neatly and no folds or wrinkles form. Press the neoprene firmly together with your fingers.
For extra strength, you can use a small clamp or place the wetsuit between two flat objects (like books or wooden boards) with some weight on top. Let it sit like this for at least 5 to 10 minutes to ensure the glue bonds well.
Allow the glue to cure for at least 6 to 8 hours — preferably overnight. During this time, avoid bending or stretching the wetsuit to ensure a strong, lasting repair.
Larger repairs
If a seam has come loose, you can often reglue it and, if needed, reinforce it with special stitching using durable thread. For larger holes or worn-out areas, use a neoprene patch. These patches can be self-adhesive or applied with glue. Make sure the patch overlaps the damaged area generously and press it down firmly.
Sometimes, a DIY repair just isn’t enough. In that case, we’re here to help! Visit our surf shop, hand in your wetsuit, and we’ll send it to our professional repair service. Wetsuits are typically repaired within one working week.
Conclusion
A damaged wetsuit doesn’t have to mean the end of your surf sessions. With a little care, the right materials, and some patience, you can easily repair small tears or loose seams yourself. By fixing your wetsuit in time, you prevent further damage and significantly extend the life of your gear. It saves you money and helps reduce waste, a win-win!
Not sure if you can handle the repair yourself? Feel free to contact us or drop by our surf shop, we’re happy to help!
Curious about how to take care of your wetsuit? Check out our blog “Wetsuit Maintenance” or watch our YouTube video below!